
PRODUCTS
By The Bay Suite
(January-April 2023 Mini Catalogue, 160434, Page 22)
Basic Borders Dies
(AC 155558, Page 169)
Adhesive Backed Milky Dots
(January-April 2023 Mini Catalogue, 160582, Page 87)
C6 Basic White Envelopes(AC 159235, Page 137)
Basics Emboss Powder White
(AC 155554, Page 128)
Stampin' Seal
(AC 152813, Page 127)
Versamark
(AC 102283, Page 129)
Dimenstionals
(AC 104430, Page 127)
 |  |  |  |
 |  |  |
METHOD & MEASUREMENTS
1. Using Basic White cardstock, cut one card base at 10.5cm x 29.7cm, score at 14.85cm and bone fold
2. Cut one piece of Designer Series Paper at 10.3cm x 9.3cm
3. Using Basic Border die, measure however deep you want the angle cut at and make a mark on the Designer Series Paper
4. Use trimmer to cut Designer Series Paper angles
5. From left over pieces of scrap Designer Series Paper, but two angled strips and adhere to back of main piece of Designer Series Paper
6. Trim so edges are even. Allow to dry if using wet glue
7. Adhere to front of card with dimensionals
8. Using scrap Designer Series Paper wipe over with embossing buddy
9. Stamp sentiment in versamark
10. Cover with shite embossing powder and heat set
11. Close cut around embossed sentiment
12. Adhere to Designer Series Paper and close cut a second time to give a slight border
13. Adhere to front of card with dimensionals
14. Adhere three milky dots to front of card
15. Using scrap Designer Series Paper, cut three shapes from border dies - layer and adhere to inside left of card base
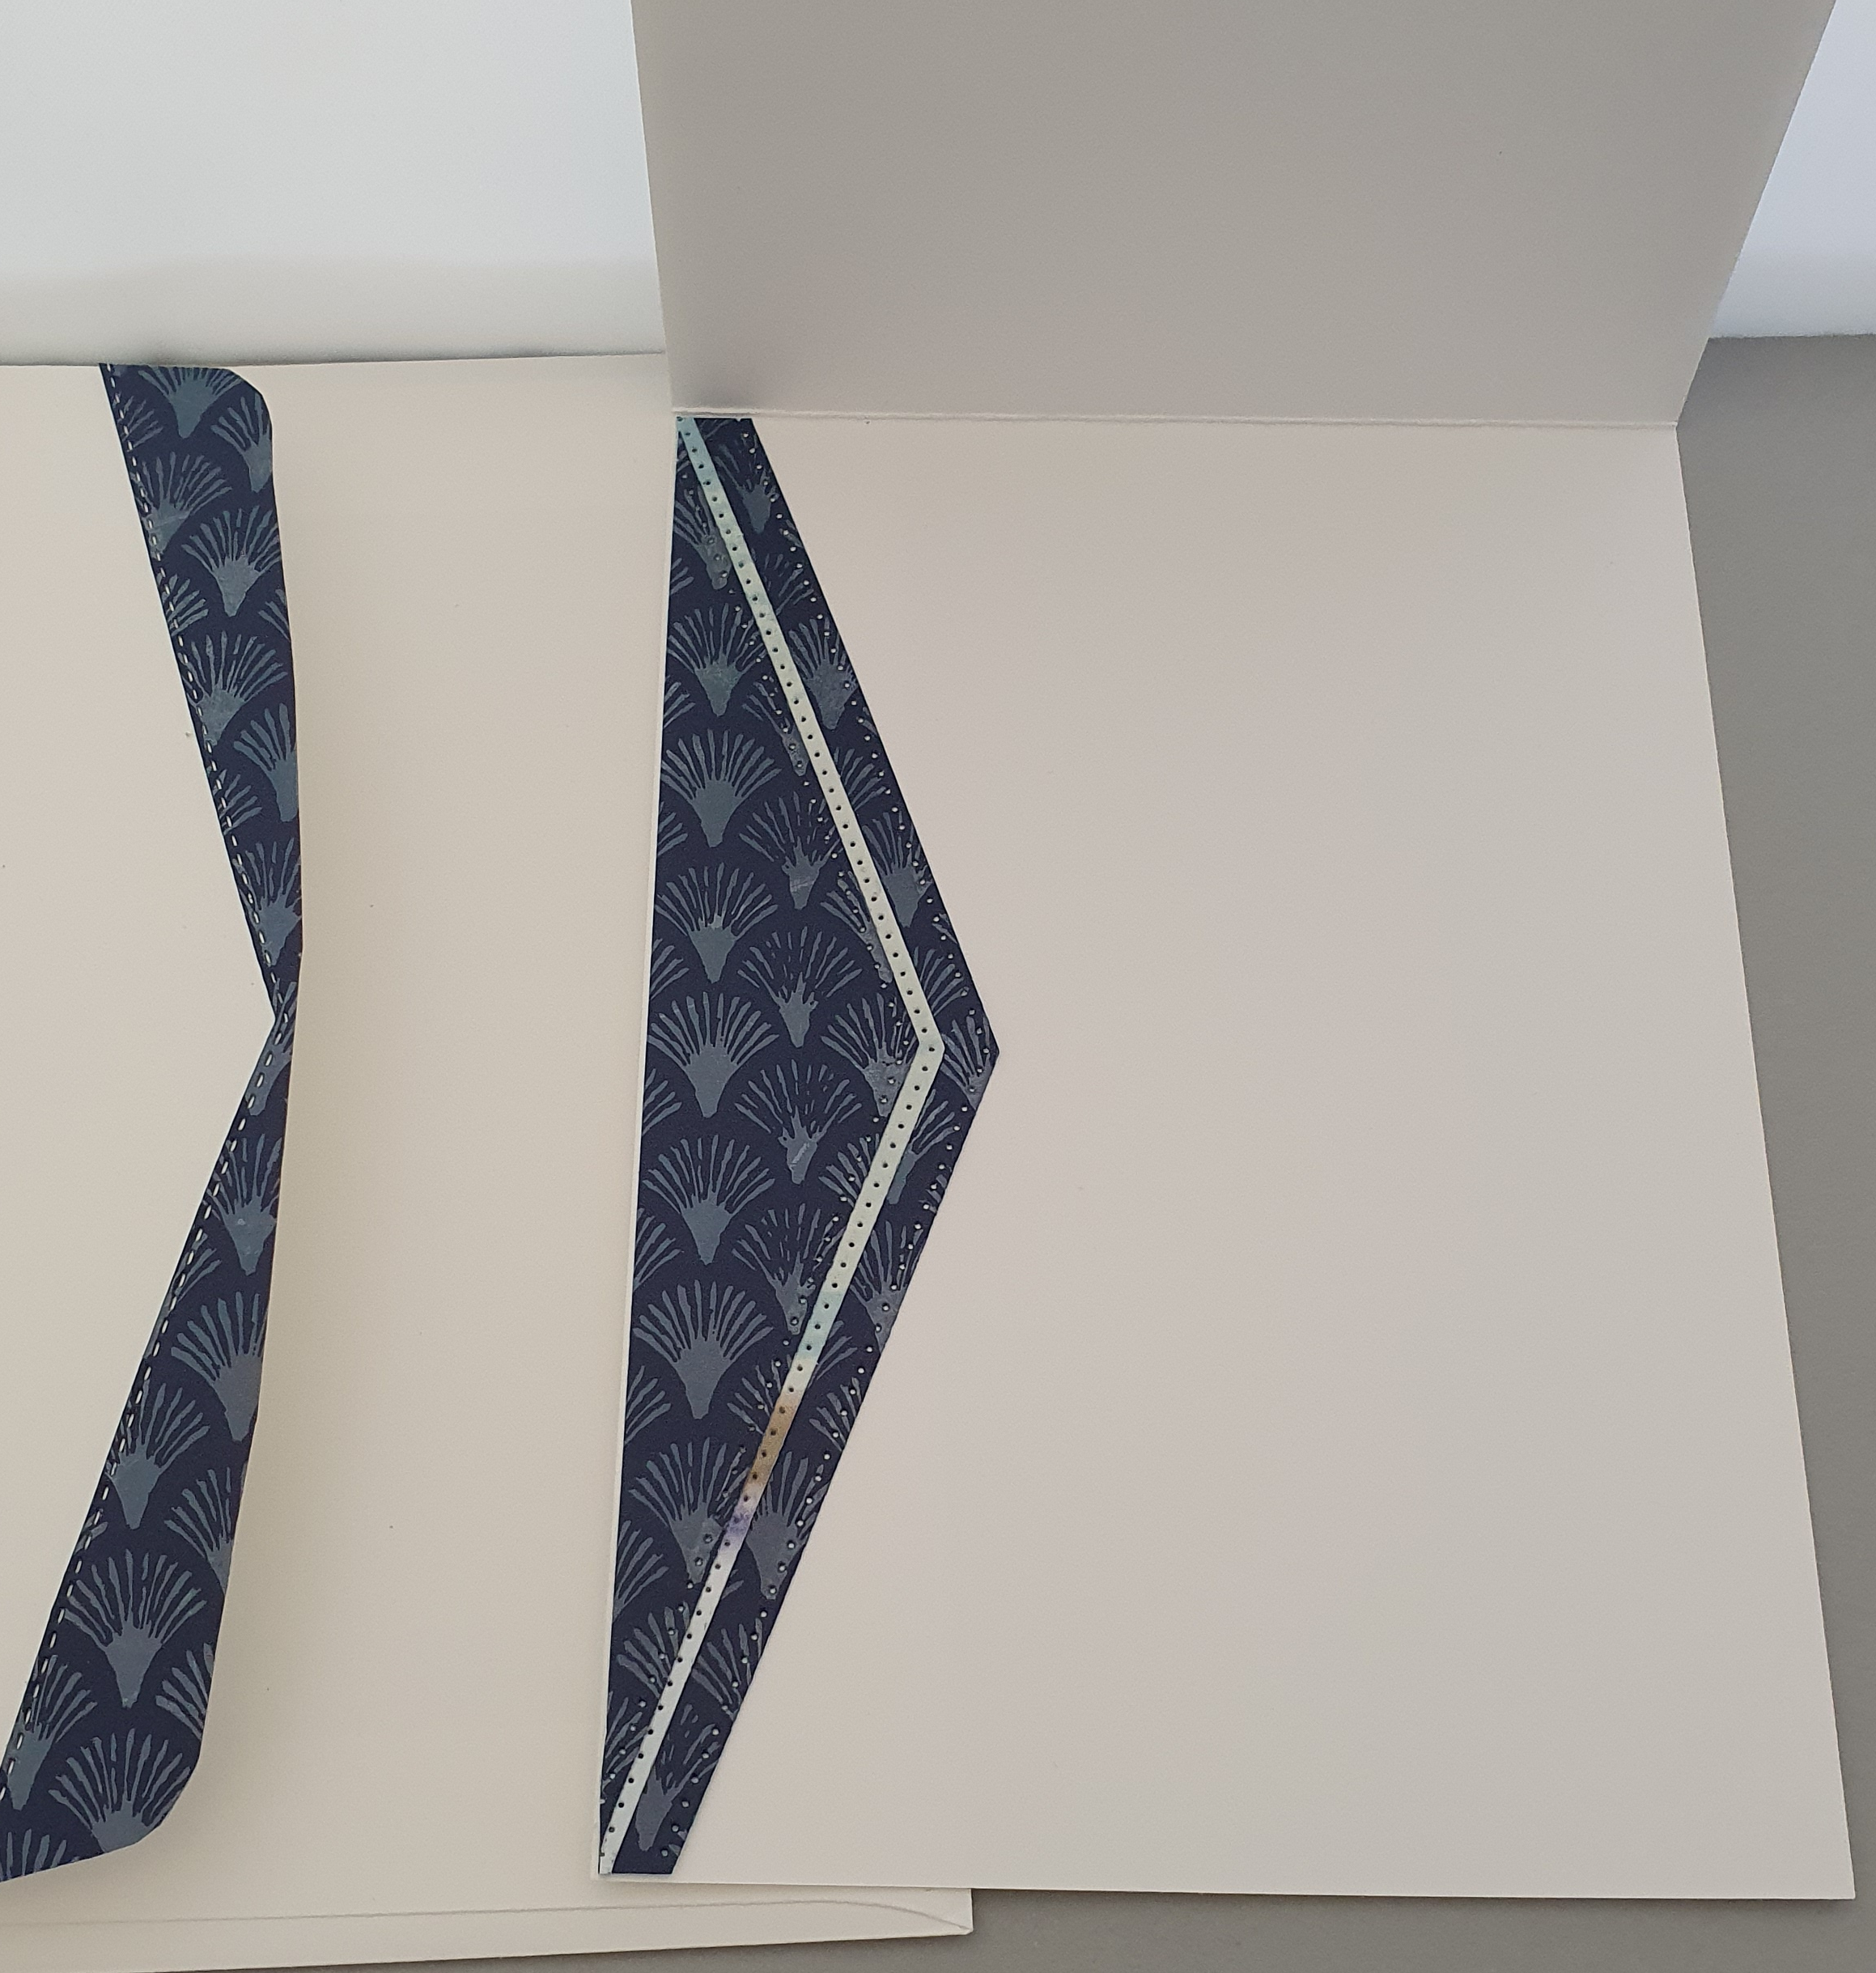
16. Using left over Designer Series Paper scrap, adhere a piece to the envelope flap and trim excess when dry

No comments:
Post a Comment