Friday 1 September 2023

Patchwork Pieces Dies Card No. One


 PRODUCTS
MOODY MAUVE A4 CARDSTOCK
(AC 161732, Page 122)
HOLOGRAPHIC TRIO 12' X 12' SPECIALTY PAPER
(AC 161744, Page 127)
IN COLOUR 2023-2025 12" X 12" LUSTRE SPECIALTY PAPER
(AC 161746, Page 127)
PETAL PARK BUILDER PUNCH
(AC 160576, Page 149)
DECKLED RECTANGLES
(AC 159173, Page 163)
PATCHWORK PIECES DIES
(AC 161592, Page 165)
2023-2025 IN COLOUR DOTS
(AC 161620, Page 141)
ARTISTICALLY INKED STAMP SET
(AC 154542, Page 114)
IN COLOUR 2023-2025 MOODY MAUVE CLASSIC STAMP PAD
(AC 161649, Page 122)
STAMPIN' SEAL
(AC 152813, Page 138)
MULTI PURPOSE LIQUID GLUE
(AC 110755, Page 138)
TEXTURED RIBBON
(AC 161630, Page 143)
A4 BASIC WHITE CARDSTOCK
(AC 159228, Page 123)
METHOD & MEASUREMENTS
1.   Using Moody Mauve cardstock, cut one card base at 10.5cm x 29.7cm and score at 14.85cm.
2.   Using second largest deckled rectangles and Moody Mauve Lustre Specialty Paper, cut one frame.
3.   Using Moody Mauve Lustre Specialty Paper, and Holographic Paper cut one each of Patchwork Pieces dies.
4.   Piece together die cuts and adhere to a backing piece of cardstock.
5.   Adhere the frame over the top of dies cut pieces.
6.   Adhere one piece of textured ribbon around front of die cut piece and adhere on the back with Stampin' Seal.
7.   Punch one large flower from Holographic paper and one smaller flower from Lustre Specialty Paper and adhere together with a glue dot.
8.   Adhere to front panel where chosen.
9.   Place coloured dots where chosen.
10. Adhere panel to front of card base.
11. Die cut one deckled rectangle piece from Basic White cardstock.
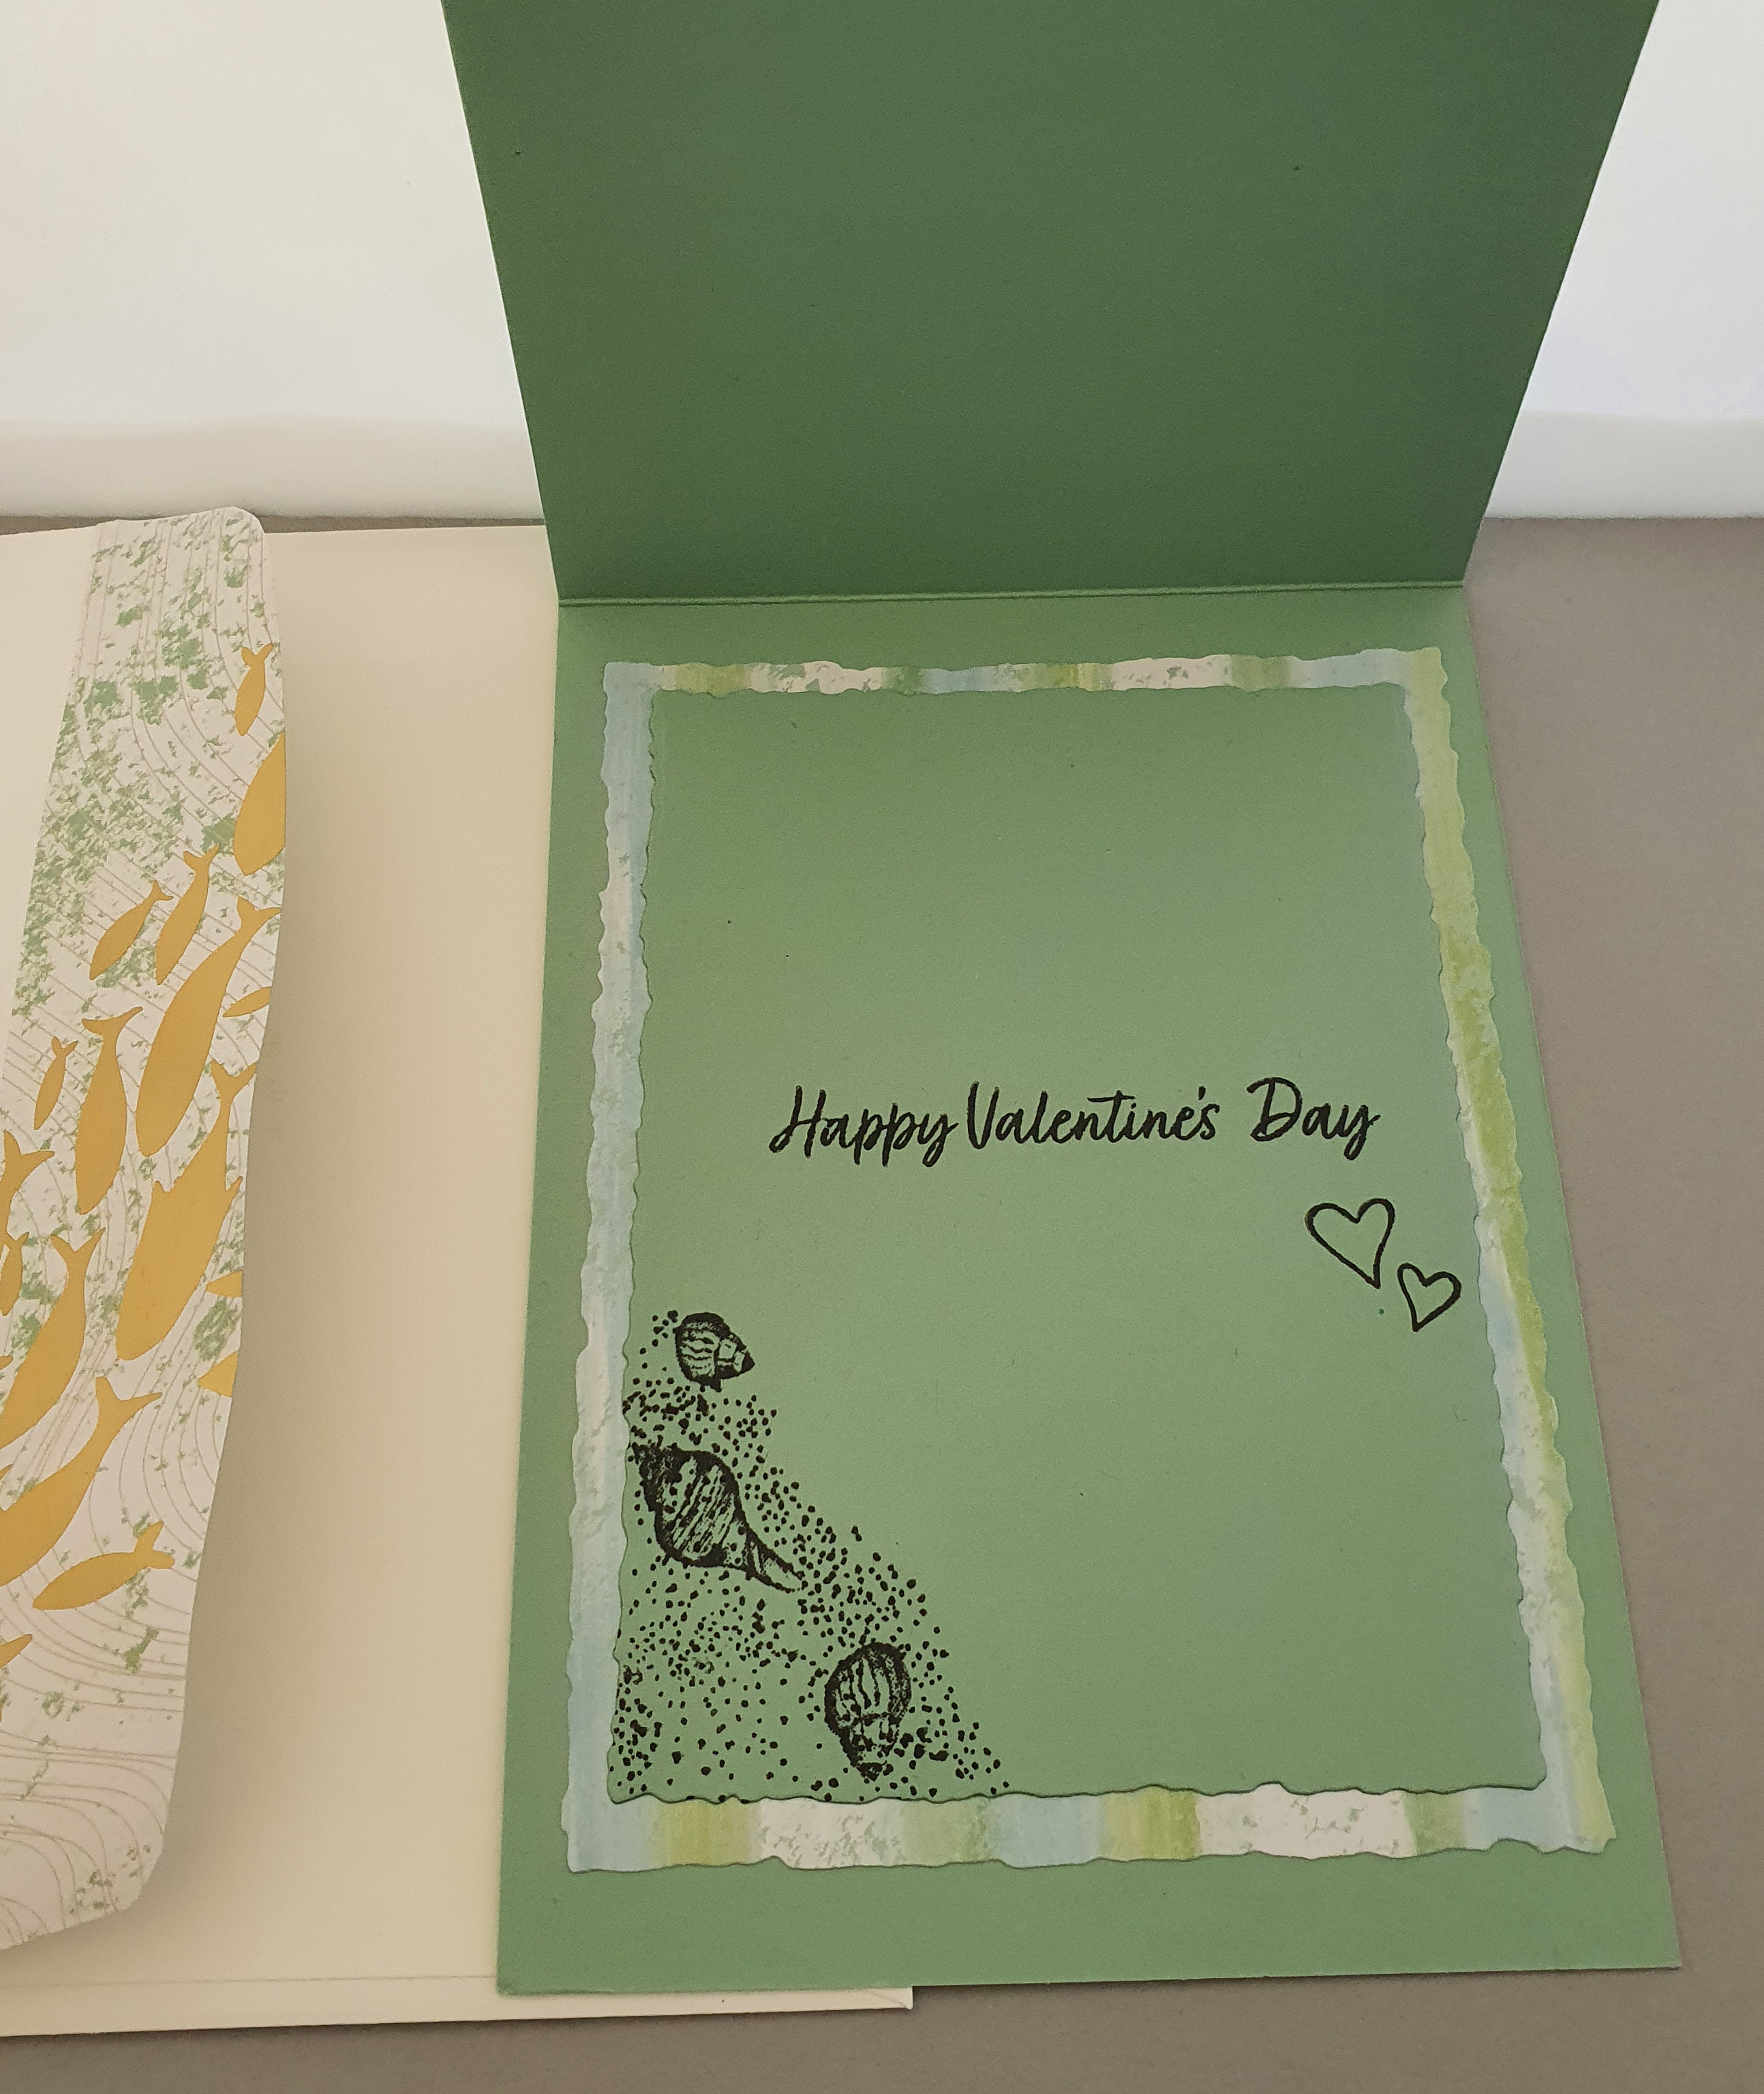
12. Stamp sentiment on B asic White die cut piece.
13. Trace over stamped sentiment with Wink Of Stella.
14. Adhere panel to inside of card.


Wednesday 30 August 2023

Fresh As A Daisy Suite


PRODUCTS
FRESH AS A DAISY SUITE
(AC 161301, Page 110)
COUNTRY SIDE CORNERS BUNDLE
(AC 161474, Page 62)
A4 BUBBLE BATH CARDSTOCK
(AC 161727, Page 123)
BRIGHT & BEAUTIFUL 6" X 6" DESIGNER SERIES PAPER
(AC 161449, Page 129)
HOLOGRAPHIC TRIO CARDSTOCK 12" X 12"
(AC 161744, Page 127)
COUNTRY BLOSSOMS EMBOSSING FOLDER
(AC 161473, Page 168)
BUBBLE BATH INK PAD
(AC 161664, Page 123)
SHEER RIBBON COMBO PACK
(AC 161635, Page 43)
TINSEL GEMS THREE PACK
(AC 161624, Page 140)
VERSAMARK INK
(AC 102283, Page 137)
WHITE EMBOSSING POWDER
(AC 155554, Page 136)
MULTI PURPOSE LIQUID GLUE
(AC 110755. Page 138)
MINI STAMPIN' DIMENSIONALS
(AC 144108, Page 138)
ADHESIVE SHEETS
(AC 152334, Page 138)
GLUE DOTS
(AC 103683, Page 138)
METHOD & MEASUREMENTS
1.   Cut card base in Bubble Bath cardstock at 10.5cm x 29.7cm, score at 14.85cm.
2.   Emboss front panel of card using Countryside Blossoms Embossing folder.
3.   Wipe cardstock with antistatic pad then using Holographic Trio cardstock, stamp with Versamark using Countryside Corners stamp set and heat emboss with white embossing powder.
4.   Die cut all from Holographic cardstock.
5.   Using same dies, cut a further three sets of Countryside Corners dies from Bubble Bath cardstock.
6.   Adhere stacked on top of each other.
7.   Only use the third and fifth largest dies cuts.
8.   Place mini dimensionals on the back of third and fifth largest die cuts.
9.   Fussy cut chosen flowers from Designer Series Paper.
10. Place adhesive sheeting on back of 6" x 6" Designer Series Paper.
11. Die cut sprigs image.
12. Using glue dots, adhere flowers and sprig die cuts where chosen.
13. Cut length of ribbon to whatever size of bow you choose and tie.
14. Adhere in place with a glue dot.
15. For inside of card, using largest die, cut one piece of cardstock in Bubble Bath, sponge edges with Bubble Bath ink.
16. Adhere fussy cut flower in corner of die but and trim to match edges.
17. Adhere to inside of card using Stampin' Seal.

Monday 28 August 2023

Gift Tags No. 1


PRODUCTS
A4 Pretty Peacock Cardstock 
(AC 150886, Page 123)
A4 Basic White Cardstock
(AC 159228, Page 123)
Tailor Made Tags Dies
(AC 155563, Page 167)
Deckled Rectangle Dies
(AC 159173, Page 163)
Winter Meadow Suite
(September - December Mini Catalogue 162150, Page 36)
(Winter Meadow Designer Series Paper and Magical Meadow Dies)
Wink Of Stella
(AC 141897, Page 137)
Pearlized Enamel Effects Real Red
(AC 156310, Page 137)
Silver & White Sheer Ribbon
(September - December Mini Catalogue 162149, Page 37)
Multi Purpose Liquid Glue
(AC 110755, Page 138)
Magical Meadow Bundle
(September - December Mini Catalogue 162144, Page 36)
Christmas Tidings Emboss Folder
(September - December Mini Catalogue 162115, Page 75)
METHOD & MEASUREMENTS
1.    Using Tailor Made Tags dies, cut one from Pretty Peacock cardstock and one from Magical Meadow designer series paper.
2.    Using Christmas Tidings Embossing Folder, Emboss Pretty Peacock die cut tag.
3.    Using Basic White cardstock, cut one branch from Magic Meadow dis and adhere to front of designer series paper die cut.
4.    Die cut two holly leaves from Basic White cardstock and sponge edges in Pretty Peacock ink and adhere down to front of designer series paper die cut.
5.    Place dots of red enamel effects on berry spots on dies cut sprigs.
6.    Tap with Wink Of Stella on front of designer series paper.
7.    Cut one piece of silver & white sheer ribbon at 16cm and fold in half. Poke folded edge through the eye at the top of the tag and tie securely.


Thursday 16 February 2023

By The Bay Card 2


PRODUCTS
By The Bay Suite
(January-April 2023 Mini Catalogue, 160434, Page 22)
Basic Borders Dies
(AC 155558, Page 169)
Adhesive Backed Milky Dots
(January-April 2023 Mini Catalogue, 160582, Page 87)
C6 Basic White Envelopes
(AC 159235, Page 137)
Basics Emboss Powder White
(AC 155554, Page 128)
Stampin' Seal
(AC 152813, Page 127)
Versamark
(AC 102283, Page 129)
Dimenstionals
(AC 104430, Page 127)
METHOD & MEASUREMENTS
   1.    Using Basic White cardstock, cut one card base at 10.5cm x 29.7cm, score at 14.85cm and bone fold
   2.    Cut one piece of Designer Series Paper at 10.3cm x 9.3cm
   3.    Using Basic Border die, measure however deep you want the angle cut at and make a mark on the Designer Series Paper
   4.    Use trimmer to cut Designer Series Paper angles
   5.    From left over pieces of scrap Designer Series Paper, but two angled strips and adhere to back of main piece of Designer Series Paper
   6.    Trim so edges are even. Allow to dry if using wet glue
   7.    Adhere to front of card with dimensionals
   8.    Using scrap Designer Series Paper wipe over with embossing buddy
   9.    Stamp sentiment in versamark
 10.    Cover with shite embossing powder and heat set
 11.    Close cut around embossed sentiment
 12.    Adhere to Designer Series Paper and close cut a second time to give a slight border
 13.    Adhere to front of card with dimensionals
 14.    Adhere three milky dots to front of card
 15.    Using scrap Designer Series Paper, cut three shapes from border dies - layer and adhere to inside left of card base
 16.    Using left over Designer Series Paper scrap, adhere a piece to the envelope flap and trim excess when dry

Tuesday 14 February 2023

By The Bay Suite Collection Card 3


PRODUCTS
By The Bay Suite Collection
(January - April 2023 Mini Catalogue 160450, Page 22)
Balmy Blue & White Ribbon
(January - April 2023 Mini Catalogue 160450, Page 22)
Masking Paper
(AC 155480, Page 149
Mini Glue Dots
(AC 103683, Page 127)
Petal Pink Ink Pad Subtles Collection
(AC 147108, Page 123)
Starry Sky In-Colour Collection 2022-2024
(AC 159212, Page 122)
Flat Adhesive Backed Pearls
(January - April 2023 Mini Catalogue 160449, Page 23)
A4 Basic White Cardstock
(AC 159228, Page 123)
C6 Basic White Envelopes
(AC 159235, Page 137)
Wink Of Stella
(AC 141897, Page 128)
Stitched Rectangles Dies
(AC 151820, Page 174)
Adhesive Sheets
(AC 152334, Page 127)

METHOD & MEASUREMENTS
   1.    Cut card base at 10.5cm x 29.7cm and score & bone fold at 14.85cm
   2.    Cut one piece of Designer Series Paper at 10.2cm x 14.5cm
   3.    Cut one piece of ribbon at 18.5cm
   4.    Cut one piece of ribbon at 10cm
   5.    Die cut one open shell in Petal Pink and use Wink Of Stell on indents on top of shell
   6.    On the left hand side of first layer of Designer Series Paper, adhere one end of ribbon to back of front of Designer Series Paper layer
   7.    Adhere other end of ribbon to the back of the Designer Series Paper layer
   8.    Using 10cm piece of ribbon, tie it around the ribbon on the left hand side of Designer Series Paper layer in either a bow or a knot
   9.    Use a glue dot behind the knot in the ribbon to adhere ribbon down and keep it in place
 10.    Stamp chosen sentiment in Starry Sky ink on top left hand corner of front of Designer Series Paper layer
 11.    Using dottage stamp, stamlp an area on bottom left corner of front Designer Series Paper layer
 12.    Using Petal Pink ink, sponge edges of open shell
 13.    Place dimensionals on back of shell and adhere in the middle of dottage area
 14.    Place flat adhesive backed pearls where chosen
 15.    Sor inside of card base, cut on piece of Basic White cardstock at 10cm x 14.4cm
 16.    Using masking paper, cut one piece at 11.5cm x 8cm
 17.    Using Basic White cardstock, cut one piece at 10cm x 14.4cm
 18.    Place masking paper onto center of Basic White cardstock
 19.    Using Blending Brush, brush around outside edges of layer
 20.    Using dottage stamp & Starry Sky ink, stamp around border of inside layer
 21.    Remove masking paper and stamp sentiment onto center of inside card
 22.    Use dottage stamp to stamp on top half of envelope flap
 23.    Adhere a piece of Designer Series Paper onto envelope flap and when dry trim to size

Monday 13 February 2023

By The Bay Suite Collection Card 1


 PRODUCTS
A4 Mint Macaron Cardstock
(AC 138344, Page 123)
A4 Basic Black Neutrals Collection Cardstock
(AC 121688, Page 123)
By The Bay Suite Collection
(Jan - April 2023 Mini Catalogue 160450, Page 22)
Seaside Bay Stamp Set 160436
By The Bay 6 x 6 Designer Series Paper 160434
Flat Adhesive Backed Pearls 160449
Country Bouquet Stamp Set
(Jan - April 2023 Mini Catalogue 160377, Page 10)
Deckled Rectangle Dies
(AC 159173, Page 170)
Memento Tuxedo Black Ink Pad
(AC 132708, Page 129)
Stampin' Seal
(AC 152813, Page 127)
Multipurpose Liquid Glue
(AC 110755, Page 127)
Black Stampin' Dimensionals Combo Pack
(AC 150893, Page 127)
C6 Basic White Envelopes
(AC 159235, Page 137)
METHOD & MEASUREMENTS
   1.    Using Mint Macaron cardstock, cut card base at 10.5 x 29.7 and score at 14.85 - Bone fold
   2.    Using Mint Macaron cardstock, cut one piece at 9.5cm x 13cm and die cut second largest Deckled die, stamp chosen designs and sentiments onto cardstock piece and adhere to Designer Series Paper layer inside card
   3.    Cut one piece of Basic Black cardstock at 14.4cm x 10.3cm
   4.    Cut one piece of Designer Series Paper for the front of card at 14.1cm x 10cm
   5.    Cut one piece of Designer Series Paper at 10cm x 13.5cm for inside of card and die cut largest Deckled Rectangle die and adhere to the inside of card
   6.    Choose a piece of Designer Series Paper and cut a design for front of card
   7.    Adhere chosen design to Basic Black cardstock and trim leaving a fine border
   8.    Adhere a second piece of Basic Black cardstock to design and trim
   9.    Choose stamps and stamp designs in Memento Black ink onto the lower front of the 14.1cm x 10cm Designer Series Paper piece
 10.    Adhere chosen black backed design to front of Designer Series Paper with liquid or tape adhesive
 11.    Stamp sentiment in Memento Black Ink
 12.    Place adhesive backed pearls where you choose
 13.    Adhere entire decorative panel to front of card using black dimensionals
 14.    Adhere a scrap piece of Designer Series Paper or stamp a design onto the flap of the envelope

Friday 3 February 2023

Ready To Ride Suite

PRODUCTS
READY TO RIDE SUITE
(Mini Catalogue Jan-April 2023 160768, Page 68)
A4 BASIC GREY CARDSTOCK
(AC 121689, Page 123)
SILVER FOILSPECIALTY PACK
(AC 156457, Page 139)
STAMPIN' DIMENSIONALS
(AC 104430, Page 127)
STITCHED RECTANGLE DIES
(AC 151820, Page 174)
ADHESIVE BACKED STUDS
(Mini Catalogue Jan-April 2023 160767, Page 87)
TAILOR MADE TAGS
(AC 155563, Page 175)
COUNTRY BOUQET STAMP SET
(Mini Catalogue Jan-April 2023 160383, Page 9)
MEMENTO BLACK INK
(AC 132708, Page 129)
C6 BASIC WHITE ENVELOPES
(AC 159235, Page 137)
MULTIPURPOSE ADHESIVE
(AC 110755, Pgae 127)
STAMPIN' SEAL
(AC 152813, Page 127)
    1.   Using Basic Grey Cardstock, cut A4 sheet in half lengthways at 10.5cm x 29.7cm and score at 14.85cm
    2.   Using silver cardstock, cut one piece at 14.4cm x 10cm
    3.   Run through Big Shot with Metal Plate 3D emboss folder
    4.   Adhere to front of card base using dimensionals
    5.   Cut one piece of chosen Designer Series Paper at 8.8cm x 13cm
    6.   Adhere at an angle to front of silver embossed layer 
    7.   Cut an image from one of the sheets of Designer Series Paper
    8.   Back with Vellum and trim to leave a very slight border around the shape you have chosen
    9.   Adhere to front of card using dimensionals
    10. Scatter adhesive backed studs where you choose
    11. Using Basic White Cardstock cut one piece from the Tailor Made Tags dies
    12. Using Memento Black Ink, stamp sentiment onto tag
    13. Adhere tag to inside of card at an angle
    14. Cut one piece of Designer Series Paper at 16.5cm x 6.2cm and adhere to flap of envelope
    15. When adhesive has dried completely, trim excess